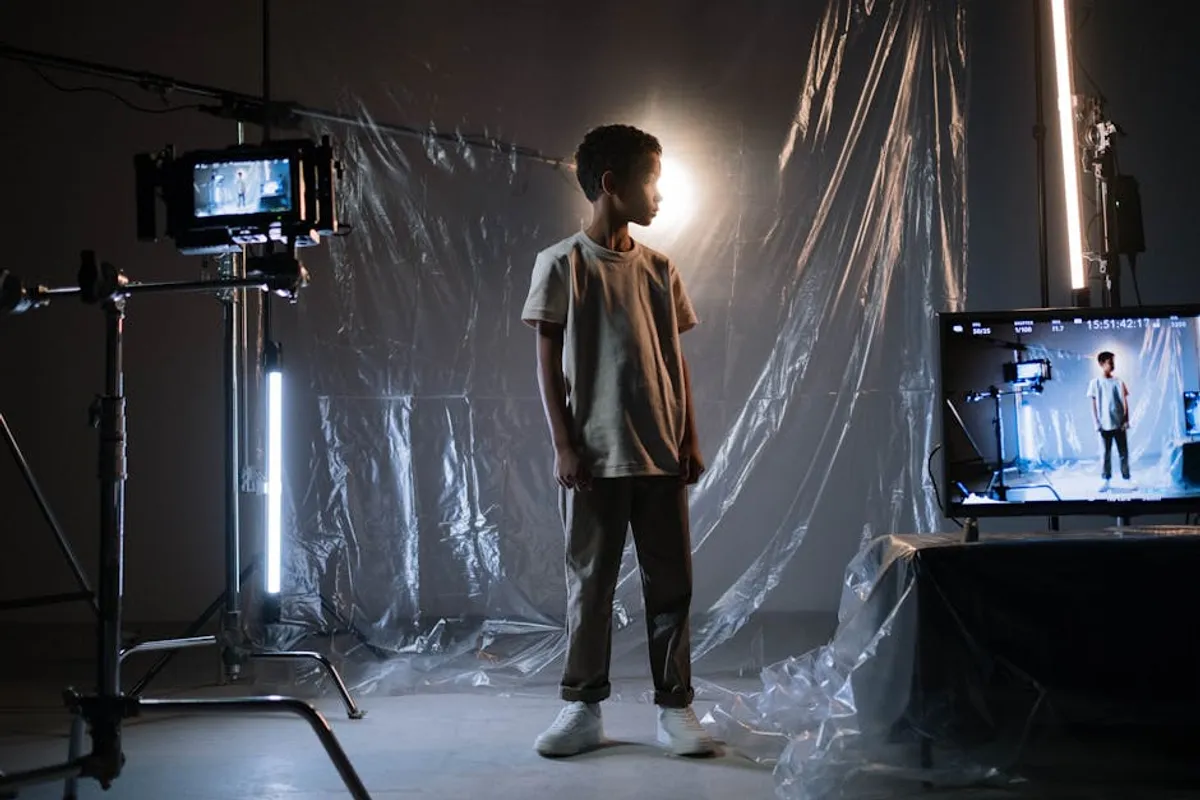
Effective film lighting transcends mere illumination; it is a critical storytelling tool that shapes audience perception, defines mood, and elevates production value. For any visual project, from independent shorts to commercial advertisements, strategic lighting directly impacts how a message is received and how professional a production appears. Mastering these techniques means moving beyond simply making objects visible and into the realm of crafting compelling visual narratives that resonate with viewers and achieve their intended impact. Mastering these techniques means moving beyond simply making objects visible and into the realm of crafting compelling visual narratives that resonate with viewers and achieve their intended impact, and a beginner's guide can cover the key principles for crafting compelling visual narratives.
Understanding Core Lighting Principles
The foundation of professional film lighting rests on several key principles that, once understood, allow for deliberate and controlled visual outcomes. These principles guide the placement, intensity, and quality of light sources to sculpt subjects and environments.
Three-Point Lighting: The Foundation
Three-point lighting is the bedrock of cinematic illumination, providing a structured approach to defining a subject within a scene. This technique utilizes three distinct lights, each serving a specific purpose:
- Key Light: This is the primary and strongest light source, typically placed at a 45-degree angle from the camera to the subject. Its function is to illuminate the subject's main features, establishing the dominant direction of light and creating primary shadows that give shape and dimension. The key light dictates the overall brightness of the subject.
- Fill Light: Positioned opposite the key light, the fill light softens or eliminates the harsh shadows created by the key light. It is typically less intense than the key light, ensuring that shadows are lifted without completely flattening the subject. The ratio between key and fill light determines the contrast and mood of the scene; a higher ratio creates more dramatic, high-contrast looks, while a lower ratio results in softer, more evenly lit visuals.
- Backlight (Rim Light): Placed behind the subject, often slightly off to one side, the backlight separates the subject from the background. It creates a subtle rim of light around the subject's head and shoulders, adding depth and dimension. This separation is crucial for preventing the subject from blending into the background, especially in busy or dark environments.
Motivated Light and Realism
Motivated lighting refers to light sources that appear to have a logical, in-scene origin. This could be a window, a lamp, a streetlight, or even a campfire. The goal is to make the lighting feel natural and believable, even if the actual light source is a powerful studio fixture hidden out of frame. Ignoring motivated light can break immersion, making a scene feel artificial or poorly constructed. A strong motivated light source enhances realism and grounds the visual narrative in a plausible environment, which is especially critical for commercial content aiming for authenticity.
The Inverse Square Law in Practice
The inverse square law dictates that the intensity of light decreases proportionally to the square of the distance from the source. This means if you double the distance between a light source and your subject, the light reaching the subject will be only one-quarter as intense. Understanding this principle is crucial for controlling light fall-off and creating depth. Moving a light even a small distance can have a significant impact on its intensity and how quickly it fades across a scene. This allows cinematographers to create distinct lighting for foreground and background elements, or to control spill on unwanted areas.
Essential Gear and Its Application
While the principles remain constant, the tools used to apply them vary significantly. Selecting the right equipment depends on the desired effect, budget, and logistical constraints of a shoot.
Light Sources: From LEDs to HMIs
The choice of light source directly influences the quality, intensity, and color temperature of the illumination:
- LED Panels: Versatile and energy-efficient, modern LED panels offer adjustable color temperature (bi-color) and often full RGB capabilities. They are excellent for general illumination, fill light, and creating specific color effects. Their low heat output makes them safe for close proximity to talent.
- Fresnel Lights: Traditionally tungsten-based but now available in LED versions, Fresnels provide a focused beam of light with a distinct, hard edge. They are ideal for key lights, backlights, or creating dramatic shafts of light, offering precise control over the beam spread.
- HMIs (Hydrargyrum Medium-Arc Iodide): These powerful, daylight-balanced lights deliver intense output, making them suitable for lighting large areas, simulating sunlight through windows, or overpowering ambient daylight outdoors. They require specialized ballasts and are typically used in professional feature film productions due to their cost and power requirements.
- Practical Lights: These are lights that appear in the scene itself, such as lamps, candles, or monitors. While they often serve as motivated light sources, their actual output is frequently augmented by hidden, more powerful film lights to achieve the desired exposure.
Modifiers: Shaping and Softening Light
Light modifiers are indispensable for controlling the quality and direction of light:
- Softboxes and Umbrellas: These diffuse light, creating a larger, softer source that produces flattering, less harsh shadows. Softboxes offer more directional control, while umbrellas spread light more broadly. They are essential for interviews, portraits, and any scene requiring a gentle, even illumination.
- Grids and Barn Doors: Grids attach to softboxes or reflectors to narrow the beam of light, preventing spill and concentrating the light on a specific area. Barn doors attach to light fixtures and have adjustable flaps to shape and cut the light, controlling where it falls.
- Reflectors: Passive tools that bounce light, reflectors come in various sizes and surfaces (silver for hard, bright light; gold for warmer tones; white for soft fill). They are effective for adding fill light or enhancing existing light without introducing another power source.
- Gels (Color Filters): Transparent sheets placed in front of lights to alter their color temperature or add specific hues. CTO (Color Temperature Orange) gels warm up daylight-balanced lights, while CTB (Color Temperature Blue) cools down tungsten lights, ensuring consistent color rendition across different light sources.
Grip Equipment: Placement and Control
Proper light placement and stability are crucial. C-stands, light stands, clamps, and sandbags ensure lights are securely positioned and prevent accidents. Flags and cutters (often made of black fabric) are used to block light from hitting unwanted areas or to create sharp shadow lines, allowing for precise light shaping.
Pro Tip: Always use a light meter or your camera's histogram to evaluate exposure accurately. Relying solely on your eye can lead to inconsistencies, especially when balancing multiple light sources or shooting in challenging conditions. Consistent exposure across takes simplifies post-production and maintains a professional look.
Crafting Specific Looks
Beyond basic illumination, lighting choices define the aesthetic and emotional tone of a film.
High-Key and Low-Key Aesthetics
High-Key Lighting: Characterized by bright, even illumination with minimal shadows and high overall exposure. This look is achieved with a low key-to-fill ratio, often with multiple fill lights. It conveys optimism, innocence, or cleanliness, commonly seen in comedies, commercials for consumer products, or daytime scenes. The absence of deep shadows creates an open, airy feel.
Low-Key Lighting: Features stark contrasts, deep shadows, and selective illumination, often with a high key-to-fill ratio or no fill light at all. This style evokes mystery, drama, or suspense, frequently employed in thrillers, horror films, or intense dramatic scenes. The deliberate use of shadow becomes as important as the light itself, shaping the audience's emotional response.
Achieving Naturalistic Lighting
Naturalistic lighting aims to replicate real-world illumination, making it appear as if no artificial lights were used. This involves careful observation of how light behaves in natural environments and then meticulously recreating those conditions with film lights. Techniques include bouncing powerful lights off large white surfaces to simulate ambient window light, using soft, diffused sources, and ensuring motivated light sources are convincing. The goal is often to create a sense of authenticity and unobtrusive realism, which is vital for documentary-style content or narratives seeking a raw, unpolished feel.
Creating Drama and Mood
Dramatic lighting often involves strong directional light, hard shadows, and strategic use of negative space. Techniques like chiaroscuro (strong contrasts between light and dark), backlighting for silhouettes, or using colored gels to evoke specific emotions (e.g., cool blues for sadness, warm reds for passion) are employed. The choice of light quality – hard versus soft – also plays a significant role; hard light creates sharp, defined shadows that can feel edgy or intense, while soft light produces gentle transitions and a more ethereal or romantic feel.
Common Pitfalls and Solutions
Even experienced filmmakers can encounter lighting challenges. Awareness of common mistakes can save significant time and effort on set.
Avoiding Flat or Overexposed Scenes
Flat lighting occurs when a scene lacks dimension due to insufficient contrast or the absence of shadows. This often happens when a single, broad light source is used without any shaping or when fill light is too strong. To correct this, introduce a clear key light direction, reduce fill light intensity, or use flags to create shadows. Overexposure, where highlights are blown out and detail is lost, is typically a result of too much light for the camera's settings. Adjusting light intensity, using ND filters on the camera, or increasing the f-stop can resolve this.
Managing Color Temperature
Color temperature refers to the warmth or coolness of light, measured in Kelvin. Daylight is around 5600K (cooler/bluer), while tungsten lights are around 3200K (warmer/orange). Mixing light sources with different color temperatures without correction results in jarring color casts. Use gels (CTO/CTB) to match lights, or set your camera's white balance to the dominant light source. Consistent color temperature ensures a professional and unified visual aesthetic, preventing distracting color shifts within a scene.
Elevating Your Visual Storytelling
Mastering film lighting is an ongoing process of learning, experimentation, and observation. Start by understanding the fundamental principles, then practice applying them with the gear you have. Pay close attention to how light behaves in the real world and how it's used in films and commercials you admire. Consistent practice and a critical eye for detail will refine your ability to craft compelling, professional visuals that engage audiences and effectively convey your message.
Frequently Asked Questions
What is the most important light in a three-point setup?
The key light is generally considered the most important as it provides the primary illumination and defines the subject's form and direction of light, setting the tone for the entire lighting scheme.
Can I achieve good lighting on a limited budget?
Absolutely. Many effective lighting techniques rely on understanding principles rather than expensive gear. Utilize natural light, bounce existing light with white cards or foam core, and consider affordable LED panels or even household lamps with appropriate diffusion and color correction.
How do I prevent harsh shadows?
To prevent harsh shadows, use larger light sources (or move smaller lights further away), diffuse lights with softboxes or diffusion fabric, and introduce fill light to lift the shadows created by the key light.
What is color temperature and why does it matter?
Color temperature describes the warmth or coolness of a light source, measured in Kelvin. It matters because inconsistent color temperatures can lead to unnatural color casts in your footage. Matching all light sources or using gels to correct them ensures a consistent, professional look.